Outlining
Introduction:
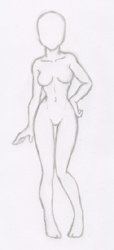
If you've followed the previous chapters of the tutorial, you now have a pencil sketch ready to be turned into a doll base.Before we start, you need some way to load the sketch into your graphics program. If you have a scanner this is easy enough. If you don't have access to a scanner, you might be able to take a digital photo of your drawing. Don't worry if the quality is somewhat crappy. As long as you can see your sketch lines, it will work.
But if all else fails, you could make your sketch straight on the computer. A mouse is a bit more difficult to control than a pencil, but other than that, everything discussed in the previous chapters still applies. Some of my bases were made this way, too.
Step 1:
After you've scanned your drawing, it's probably too big for a doll base. So, we'll start by resizing the picture to a workable size.Here, I resized mine to a nice medium/largish size.
Step 2:
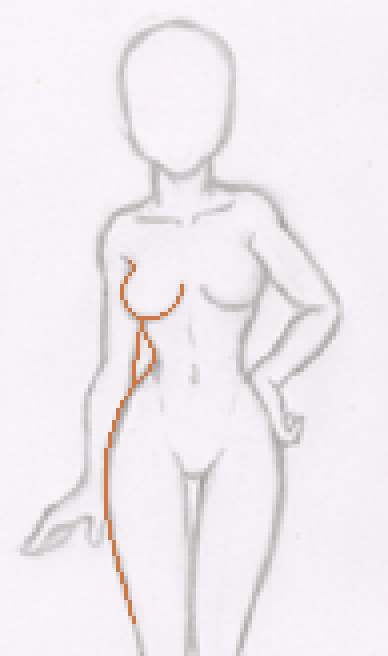
If you're working with a program that supports layers, make a new one for the outlines. If you're working with MSPaint, you'll have to draw right on top of the sketch. But, that will work too.Now, with the pencil tool set to one pixel, start tracing your sketch lines.
Here's a little trick to speed things up a bit: if you click... move your mouse... then click again while holding shift, the computer will draw a straight line for you between the two clicks. It doesn't work in MSPaint, but there you could use the line tool instead.
Step 3:
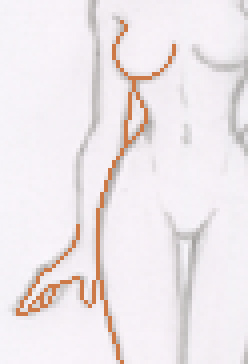
For areas that are small and complicated, like the hands, you may have to draw the outlines pixel by pixel. You don't have to follow the sketch lines exactly, just do whatever looks best in pixels.
Step 4:
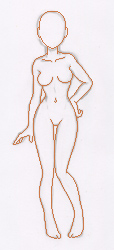
Feel free to change things a bit as you go. The sketch is just a guideline, really.I decided that I wanted the neck to be longer and slimmer. Also, I mirrored the head to make it symmetrical and I added some ears.

Step 5:
After you finish tracing, you can get rid of your sketch. If you've worked on a separate layer you can just throw away the sketch layer (or hide it). If you had to work on the same layer, you'll have to erase it by hand.
Step 6:
As a final step, I flood filled the base with a mid tone from my skin palette. The base is now all ready to be shaded!